September 2, 2026 · 6 min de lecture
L'entraînement de 30 minutes le midi
Besoin d'une routine rapide et efficace ? Cette séance de 30 minutes s'intègre parfaitement à votre pause déjeuner grâce à des supersets intelligents.
July 26, 2026 · 10 min de lecture
Bon, alors tu es prêt à construire ce dos fort et bien défini et ces biceps qui ressortent vraiment, non ? C'est exactement de ça qu'il s'agit avec une bonne séance tirage débutant. C'est une séance concentrée sur les mouvements où tu tires le poids vers ton corps, ciblant tous ces muscles à l'arrière de ton torse et de tes bras. Je vais te guider à travers une séance classique, du début à la fin, qui te fera sentir fort et confiant.
Avant de plonger dans les exercices en eux-mêmes, parlons de la mise en place. Cette séance tirage débutant devrait te prendre environ 45 à 60 minutes, selon combien de temps tu te reposes entre les séries. Tu auras besoin d'accès à une salle avec quelques machines de base et des haltères. On parle d'une machine de tirage vertical (ou une machine de tractions assistées), un poste de rowing à la poulie, une machine à câble ou un pec deck inversé, et une sélection d'haltères.
L'échauffement est crucial. Ne le saute pas. Je commence habituellement par 5 à 10 minutes de cardio léger sur un vélo ou un elliptique pour faire circuler le sang. Ensuite, je fais des étirements dynamiques spécifiques au haut du corps : rotations de bras, rotations d'épaules, peut-être quelques tirages légers avec une bande pour activer les muscles du dos. Tu n'essaies pas de t'épuiser ici ; tu prépares juste ton corps à bouger. Pense à réveiller ces muscles, pas à les brûler.
D'abord, on cible les gros muscles du dos : tes grands dorsaux. Ce sont les muscles qui donnent à ton dos ce look plus large en V. Tu as deux excellentes options ici selon ta salle et ta force actuelle.
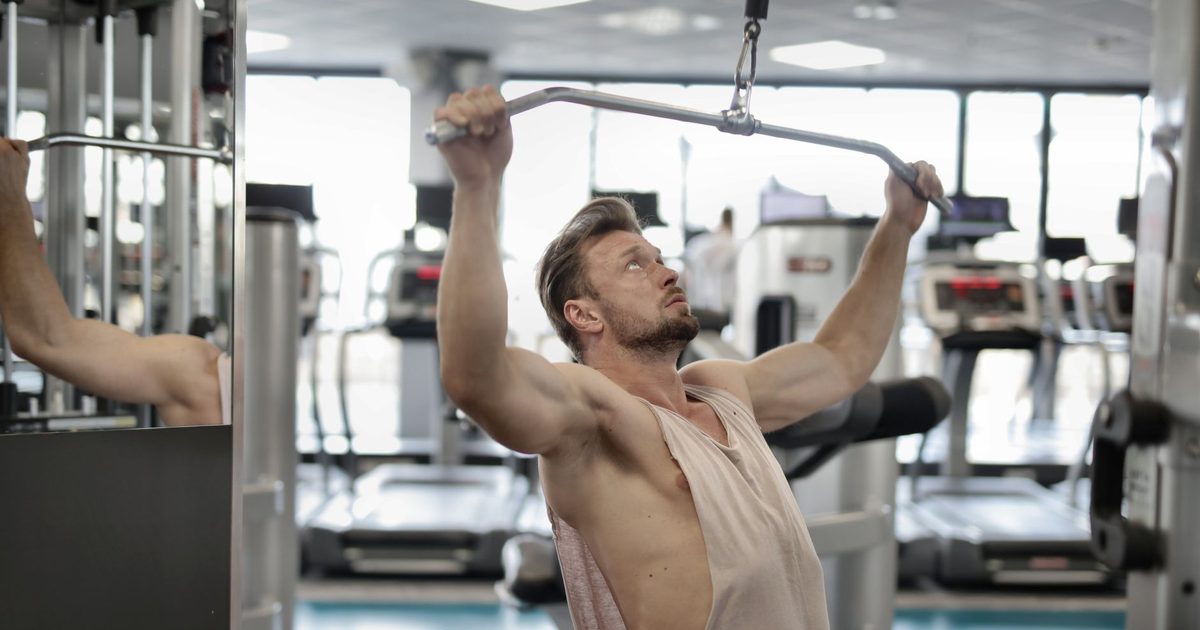
Tirage Vertical : Si tu utilises une machine de tirage vertical, tu vas t'asseoir, sécuriser tes cuisses sous les coussinets, et attraper la barre avec une prise large, paumes vers l'avant. Quand tu tires, pense à amener tes coudes vers tes hanches, en serrant tes omoplates ensemble en bas. Ta poitrine devrait rester haute, et tu ne devrais pas trop te pencher en arrière. Ce n'est pas une question de tirer avec tes biceps ; c'est une question de tirer avec ton dos. Tu devrais sentir une contraction profonde dans tes grands dorsaux, ces gros muscles sous tes aisselles, spécialement en initiant le tirage et en atteignant le bas. L'étirement en haut est important aussi, laissant tes dorsaux s'étendre complètement.
Tractions Assistées : Si ta salle a une machine de tractions assistées, c'est un autre choix fantastique. Ça travaille les mêmes muscles, mais tu tires tout ton poids corporel, juste avec un peu d'aide d'un contrepoids. Tu t'agenouilles ou te tiens debout sur une plateforme, attrape les poignées, et te tires vers le haut jusqu'à ce que ton menton dépasse la barre. Concentre-toi sur l'engagement de tes dorsaux, pas juste forcer avec tes bras. La machine la rend accessible, te laissant réduire graduellement l'assistance à mesure que tu deviens plus fort. Tu sentiras ça dans tes dorsaux, bien sûr, mais aussi dans ton haut du dos et même ton core en stabilisant ton corps.
Pour l'un ou l'autre exercice, je suggérerais de viser 3 séries de 8 à 12 répétitions. Choisis un poids où les dernières répétitions sont difficiles mais tu peux encore maintenir une bonne technique. Ne tire pas juste le poids brusquement vers le bas ou le haut.
Erreur Courante : Une erreur énorme que je vois tout le temps, c'est les gens qui laissent leur ego prendre le dessus et utilisent trop de poids. Ça mène généralement à un balancement excessif ou à se pencher beaucoup trop en arrière, transformant ça en une demi-répétition motivée par l'élan au lieu d'un mouvement contrôlé et concentré sur les dorsaux. Ralentis la phase excentrique (descente), contrôle le poids, et concentre-toi sur cette connexion musculaire. Tu obtiendras plus d'un poids plus léger avec une bonne technique que d'un poids lourd avec une mauvaise technique, je te le promets.
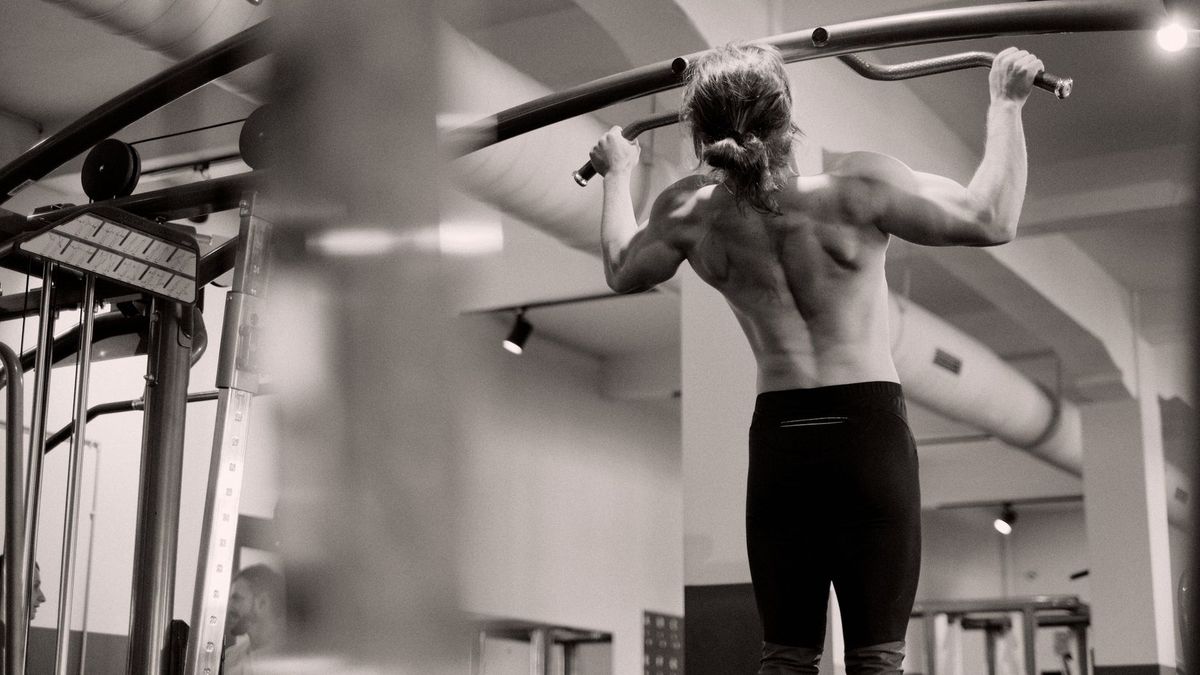 Ensuite, on passe au rowing à la poulie assis, qui est incroyable pour construire de l'épaisseur dans ton milieu du dos. Cet exercice cible vraiment tes rhomboïdes et trapèzes, te donnant ce look de dos puissant et dense.
Tu vas t'asseoir à un poste de rowing à câble, habituellement avec tes pieds contre des cale-pieds et tes genoux légèrement pliés. Attrape la poignée, que ce soit une barre en V ou une poignée plus large, et penche-toi légèrement en arrière pour commencer le mouvement. Ton dos devrait être droit, pas arrondi. En tirant la poignée vers ton bas-ventre, pense à serrer tes omoplates ensemble aussi fort que possible. Imagine que tu essaies de pincer un crayon entre elles. Tes coudes devraient rester relativement proches de ton corps. Tu sentiras une contraction vraiment forte juste au milieu de ton dos. En étendant le poids vers l'arrière, laisse tes épaules s'étirer légèrement vers l'avant, mais ne laisse pas ton bas du dos s'arrondir excessivement.
La sensation que tu recherches est une contraction profonde et forte entre tes omoplates. Ce n'est pas juste une question de bouger le poids ; c'est une question de faire travailler tes muscles du dos. Si tu le sens surtout dans tes biceps, tu tires probablement trop avec tes bras et pas assez avec ton dos. Ajuste ton focus, ralentis.
Vise 3 séries de 10 à 15 répétitions ici. Encore une fois, concentre-toi sur le contrôle. C'est correct de sentir un peu d'étirement dans ton haut du dos en tendant vers l'avant, mais garde ton core engagé pour protéger ton bas du dos.
Erreur Courante : Une classique est de voûter tes épaules ou les laisser s'arrondir trop vers l'avant au début ou à la fin du mouvement. Ça met un stress inutile sur tes épaules et ton cou et enlève la tension de ton milieu du dos. Garde ces épaules basses et en arrière, et concentre-toi sur cette rétraction scapulaire (serrer tes omoplates). Une autre erreur courante est d'utiliser ton bas du dos pour tirer brusquement le poids, transformant essentiellement ça en un mouvement d'hyperextension. Garde ton torse relativement stable, en laissant seulement une légère inclinaison se produire en tirant.
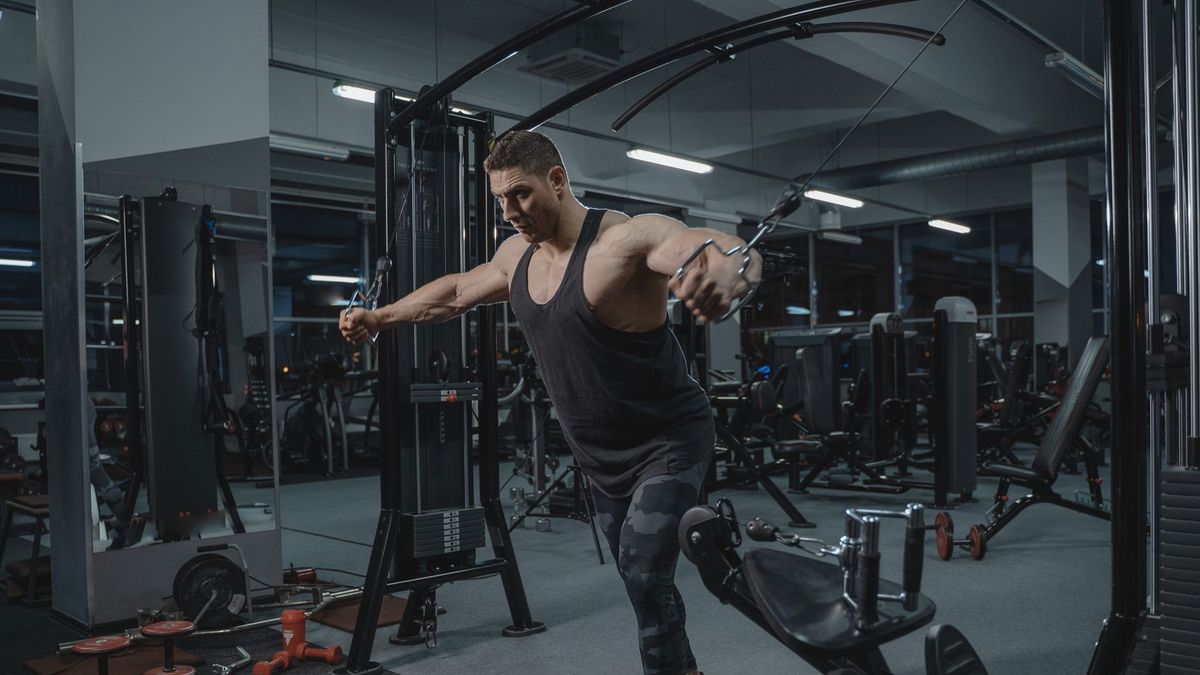
Okay, donc on a ciblé les dorsaux et le milieu du dos. Maintenant c'est le moment de montrer un peu d'amour à tes deltoïdes postérieurs et haut du dos, qui sont souvent négligés mais super importants pour la santé des épaules et la posture. C'est là que les tirages visage ou le pec deck inversé entrent en jeu.
Tirages Visage : Pour les tirages visage, tu auras besoin d'une machine à câble avec un attachement corde. Règle la poulie à peu près à hauteur d'épaule. Attrape la corde avec une prise pronation, recule pour créer de la tension, et tire la corde vers ton visage, en visant tes oreilles. En tirant, tes coudes devraient s'écarter largement, et tu devrais activement essayer de séparer la corde. Tu sentiras une vraiment bonne brûlure à l'arrière de tes épaules et entre tes omoplates. C'est un groupe musculaire plus petit, donc tu n'utiliseras pas beaucoup de poids ici. Concentre-toi sur la contraction et le serrage.
Pec Deck Inversé : Si ta salle a une machine pec deck inversé, c'est une autre excellente option. Tu vas t'asseoir face à la machine, attraper les poignées, et les pousser vers les côtés, en serrant tes omoplates ensemble. Garde une légère flexion dans tes coudes et concentre-toi sur l'utilisation de tes deltoïdes postérieurs pour mener le mouvement. Tu sentiras ça surtout à l'arrière de tes épaules, avec une certaine implication de ton haut du dos.
Ces deux exercices sont fantastiques pour améliorer la posture et équilibrer tous les mouvements de poussée que tu pourrais faire un "jour de poussée". Je suggère souvent de faire 3 séries de 12 à 20 répétitions pour ceux-ci. C'est une plage de répétitions plus élevée parce qu'on se concentre sur la stabilité, l'endurance, et ciblant ces muscles plus petits, souvent sous-entraînés.
Erreur Courante : La plus grosse erreur ici est d'essayer de soulever trop de poids, spécialement avec les tirages visage. Si tu utilises trop de poids, tu finiras par hausser les épaules ou utiliser tes biceps et trapèzes plus que tes deltoïdes postérieurs. Garde le poids léger, contrôle le mouvement, et concentre-toi vraiment sur le fait de sentir cette contraction à l'arrière de tes épaules. Pour le pec deck inversé, évite de laisser tes épaules s'arrondir excessivement vers l'avant au début ; garde la poitrine haute.
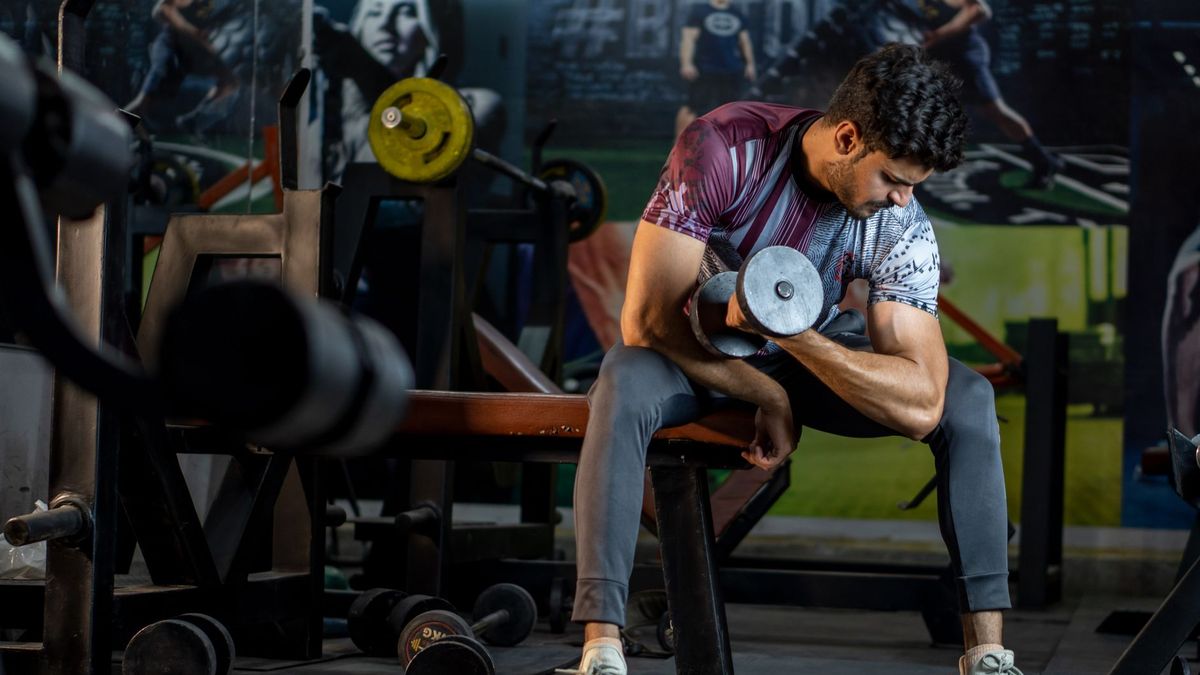
 Maintenant pour le favori de tous : les biceps ! Bien que tes biceps reçoivent du travail pendant les tirages verticaux et les rowings, c'est bon de les cibler directement. Les curls biceps à l'haltère sont un classique pour une raison.
Tiens-toi droit avec un haltère dans chaque main, paumes vers l'avant, bras étendus le long de tes côtés. En gardant tes coudes coincés contre tes côtés, monte les haltères vers tes épaules, en serrant tes biceps fort en haut du mouvement. Essaie de ne pas laisser tes coudes avancer ; garde-les relativement stationnaires. Contrôle le poids en le redescendant lentement, en sentant l'étirement dans tes biceps. Ce n'est pas une course. Tu sentiras une contraction forte puis un bon étirement à travers tes biceps. Ça devrait sembler comme si ces muscles travaillaient vraiment pour lever et abaisser le poids.
Je recommanderais 3 séries de 8 à 12 répétitions. Choisis un poids où tu peux compléter les répétitions avec une bonne technique, mais les deux dernières sont un vrai effort.
Erreur Courante : L'erreur la plus courante est d'utiliser l'élan, en balançant les poids vers le haut avec ton dos et tes épaules au lieu d'isoler tes biceps. C'est souvent appelé "tricher". Si tu te retrouves à te balancer, baisse le poids. C'est mieux d'utiliser un poids plus léger avec une technique stricte et de vraiment sentir tes biceps travailler. Une autre est de laisser tes coudes s'écarter. Garde-les épinglés à tes côtés pour maximiser l'engagement des biceps.
 Pour terminer notre travail des bras, faisons les curls marteau. Ceux-ci sont géniaux parce qu'ils travaillent non seulement tes biceps mais ciblent aussi ton brachial et ton brachioradial, qui sont des muscles dans ton avant-bras qui contribuent à l'épaisseur du bras.
La mise en place est similaire à un curl biceps régulier, mais avec une différence clé : tes paumes feront face l'une à l'autre tout au long du mouvement, comme si tu tenais un marteau. Tiens-toi droit avec un haltère dans chaque main, paumes face à tes cuisses. Monte les haltères vers tes épaules, en gardant tes paumes face à face. Serre en haut, puis abaisse lentement les poids. Tu sentiras ça à travers l'avant de ton bras, mais aussi plus intensément dans tes avant-bras comparé aux curls biceps réguliers. C'est une sensation légèrement différente, mais également efficace pour construire des bras forts et bien proportionnés.
Encore une fois, 3 séries de 10 à 15 répétitions ici. Concentre-toi sur cette tension constante et un mouvement contrôlé.
Erreur Courante : Tout comme avec les curls réguliers, balancer le poids est un gros non. Garde cette technique stricte. Aussi, parfois les gens laissent leurs poignets plier excessivement. Essaie de garder tes poignets neutres, alignés avec tes avant-bras, pour éviter la tension et assurer que les muscles ciblés font le travail. Ne laisse pas les poids tirer tes poignets vers une position pliée en bas du mouvement.
Tu as écrasé ta séance tirage débutant ! Comment sais-tu si ça "a marché" ? Tu devrais sentir une bonne congestion dans ton dos et tes biceps, et peut-être un peu fatigué mais énergisé. Le jour suivant, tu ressentiras probablement des courbatures, spécialement si c'est ta première fois faisant ces mouvements ou si tu t'es un peu poussé. C'est totalement normal ! C'est un signe que tes muscles s'adaptent.
Après ta séance, un retour au calme rapide peut aider. Quelques minutes d'étirement léger pour ton dos, épaules, et biceps peuvent te faire vraiment du bien. Maintiens chaque étirement environ 20 à 30 secondes. Ne pousse pas jusqu'à la douleur, juste un étirement doux.
Quand devrais-tu répéter ça ? Pour un débutant, faire un jour de tirage une ou deux fois par semaine est un excellent départ. Donne à tes muscles au moins 48 heures pour récupérer avant de les frapper fort à nouveau. La constance est bien plus importante que l'intensité quand tu commences juste. Continue simplement à te présenter.
C'est assez fou à quel point un jour de tirage dédié fait la différence, autant pour la force que pour comment ton corps se sent en général. Construire ta chaîne postérieure, tes muscles du dos, aide avec la posture et te fait juste sentir plus puissant.
Si tu cherches une façon facile de planifier tes entraînements, ou encore mieux, trouver quelqu'un pour t'attaquer à cette séance tirage débutant avec toi, va voir Workout With Me. On a des outils pour t'aider à créer et suivre tes séances, et tu peux même trouver un partenaire compatible pour te tenir responsable, peu importe ton niveau de force. Tu peux explorer tout ce que tu as besoin de savoir sur créer ton propre plan d'entraînement directement sur notre site. J'ai construit l'app parce que je crois que s'entraîner avec quelqu'un rend tout simplement les choses meilleures.
September 2, 2026 · 6 min de lecture
Besoin d'une routine rapide et efficace ? Cette séance de 30 minutes s'intègre parfaitement à votre pause déjeuner grâce à des supersets intelligents.
August 17, 2026 · 8 min de lecture
Apprends à construire une vraie force et du muscle avec cet entraînement corps complet aux haltères seulement, complet et étape par étape, pour salle ou maison.
August 5, 2026 · 8 min de lecture
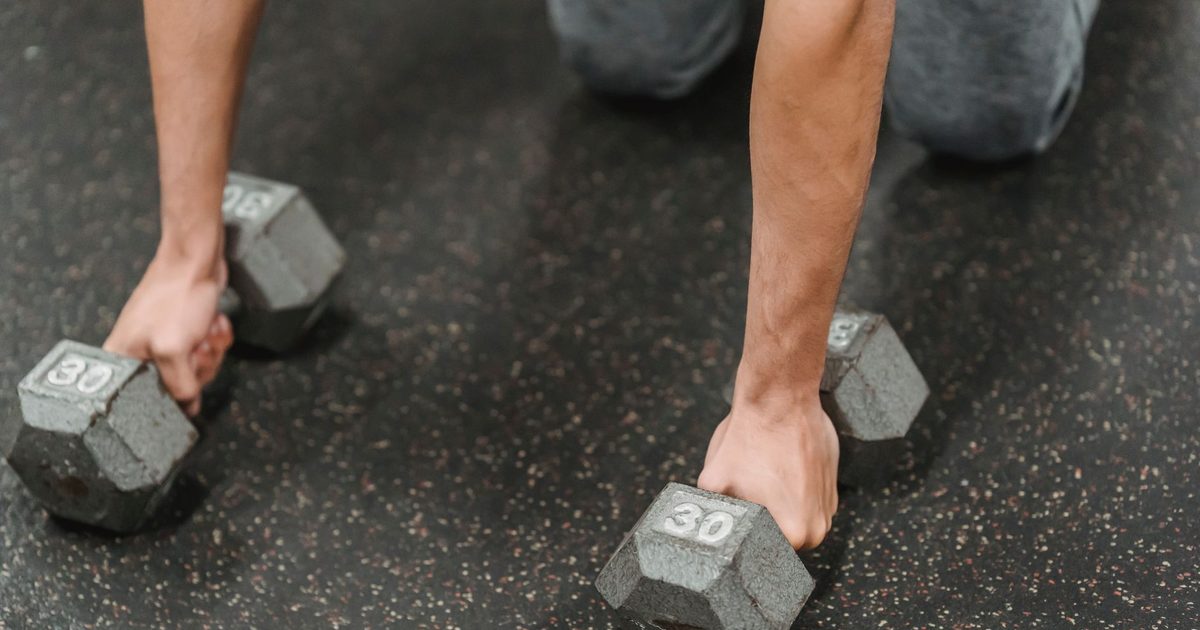
Prêt pour ta première séance jambes débutant mais inquiet des conséquences ? Je te guide à travers une séance simple et efficace axée sur la technique, pas la douleur.